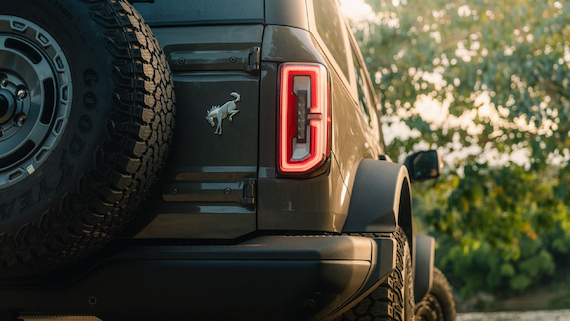
Taillights are more than just a legal requirement, they are a key part of vehicle safety. They signal to other drivers when you’re slowing down, stopping or turning, and they keep you visible at night and in poor weather. Broken or dim taillights can increase the risk of accidents and traffic citations.
Fortunately, replacing them is something most drivers can do at home. Learning how to replace and maintain your lights becomes even easier once you do it the first time. The same way drivers look at upgrades like headlights, many also consider aftermarket auto tail lights for an increase in brightness, appeal and safety.
Replacement
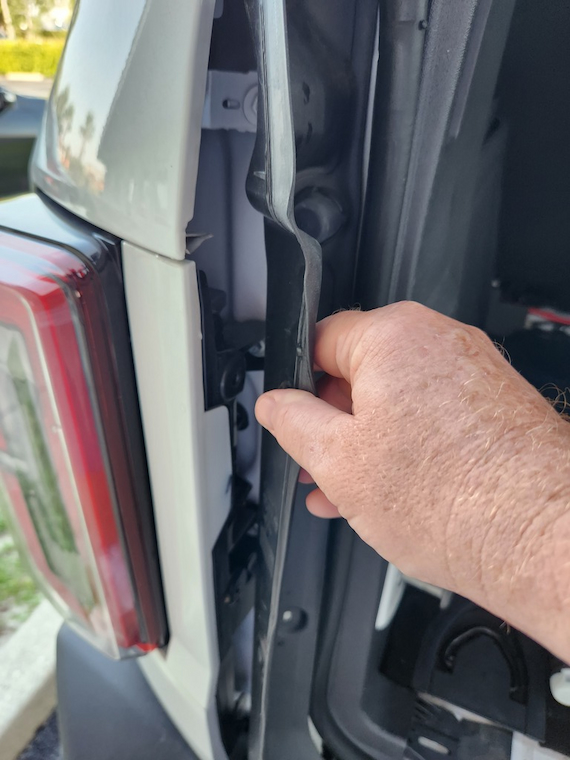
Locate
Start by locating the taillight assembly. Open your trunk or tailgate to gain access. In most cars, it’s secured behind a small panel or on the inside of the rear fender. Consult your owner’s manual if you’re unsure of the setup, since the access points can vary whether or not you get aftermarket auto tail lights.
Remove
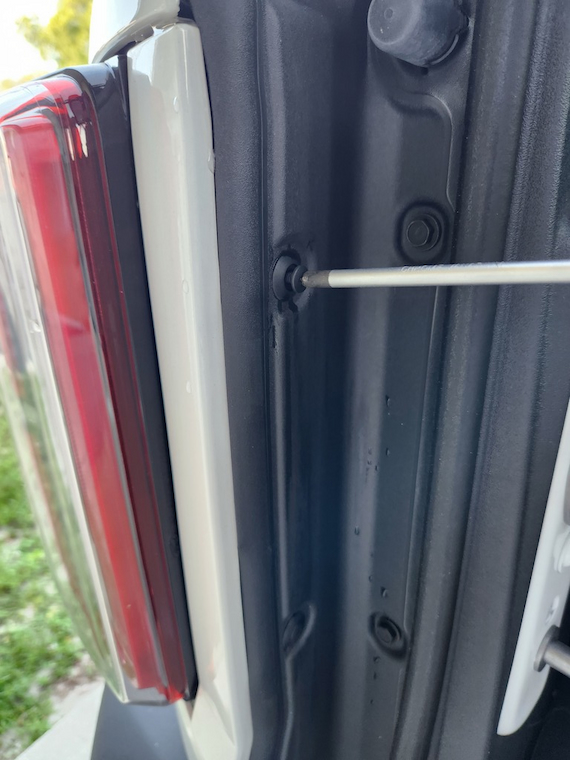
Undo any screws, clips or bolts holding the light housing in place. Some cars have plastic trim covers that must be pried off gently to avoid damage. Take note of how the assembly fits so you can reinstall it correctly later. Keep all the hardware organized, so that nothing gets lost.
Disconnect
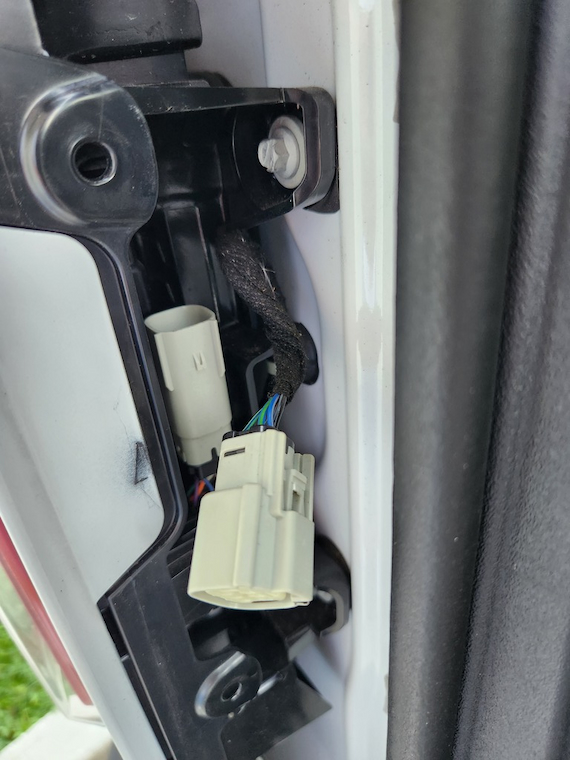
Carefully unplug the electrical connector at the back of the light. It may have a locking tab or release latch, so press it gently while pulling the connector away. Avoid pulling directly on the wires. This step ensures the wiring harness doesn’t get damaged during removal.
Take Off
Gently pull the light housing away from the car body. If it feels stuck, check for hidden screws or clips. Some sealant or rubber gasket may make it snug, so evenly wiggle it free without forcing it. Once removed, set it on a clean surface to avoid scratching or cracking the lens.
Put in Place
Take your new light assembly and position it the same way as the original. If you’re upgrading to more modern car tail lights, ensure the fitment matches factory specifications. High-quality replacements usually align perfectly, but confirm that the mounting holes and connectors line up before proceeding.
Connect
Plug the wiring connector into the new taillight assembly. Make sure it clicks or locks in place securely. Double-check that no wires are pinched or twisted. Good contact ensures the light will work properly when you turn it on.
Secure
Reattach the screws, bolts or clips that you removed earlier. Tighten them firmly but avoid over-torquing, since you could crack the plastic housing. Replace any trim covers or panels that you had to remove when accessing the lights.
Test
Before closing everything up, turn on your vehicle lights and test every function, running lights, turn signals and brake lights. Performing this step early helps avoid taking everything apart again if something doesn’t work. Once confirmed, close the trunk and check how it aligns to ensure both taillights sit flush and even.
When to Replace Taillights
Flickering
A taillight that flickers or blinks inconsistently often points to poor wiring contact or a failing light assembly. Even if they’re LED taillights, you can still have flickering issues. This usually comes from weak connections or moisture entering the housing. Addressing flickering early prevents full failure and keeps you visible on the road.
Dimming
If your car tail lights aren’t as bright as they used to be, check for oxidation on the lens or corrosion on the bulb socket. Dirt buildup can block light output. For LED units, gradual dimming might signal internal diode wear or power delivery problems. Dimming lights also strain your visibility from behind, especially in heavy traffic.
Mileage
Just like other components, taillights can lose effectiveness over time. Extended mileage can wear out electrical connectors and seals, allowing dust and moisture inside. If your car has seen many miles and original lights are still on, replacing them with new ones or even upgrading to aftermarket vehicle tail lights restores full performance and appearance.
Control Switch
Sometimes the lights themselves aren’t the issue. The dashboard control switch or stalk that operates them can fail and cause lights to stay off or respond inconsistently. If new bulbs don’t solve the problem, test the switch or relay connected to the lighting circuit.
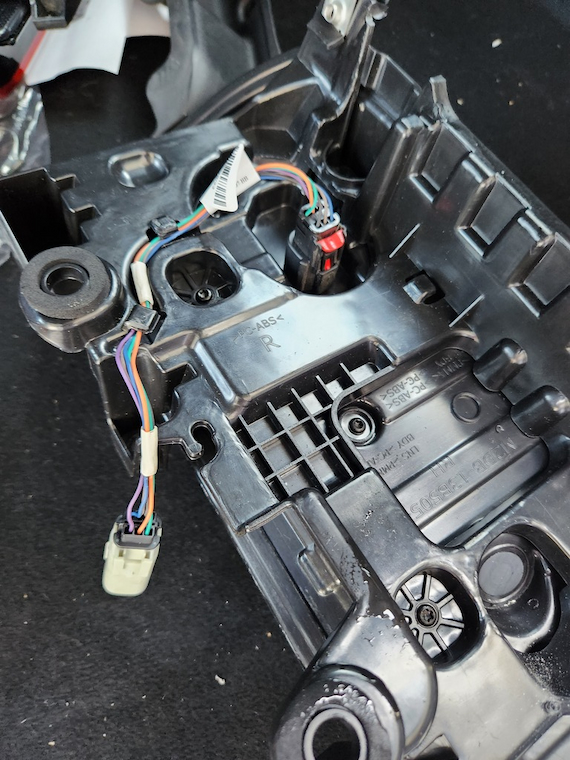
Wiring
Wiring damage is another common issue found through age, heavy vibration or exposure to moisture. Check the harness for frayed wires, burn marks or oxidation. Bad connections can cause intermittent lighting that may appear random but often result from loose grounding points.
Dashboard Warning
Modern vehicles can trigger warning lights or messages when a bulb or connection fails. Don’t ignore these alerts. They may seem minor, but they indicate electrical inconsistencies somewhere in the lighting system. A quick inspection keeps you from being caught by a malfunction or citation.
Final Words

Replacing taillights is one of those simple DIY jobs that pays off immediately in safety and appearance. Whether you’re doing it because of damage, fading or upgrade plans, the process remains straightforward if you follow each step carefully. Choose quality replacements that match your car model for proper fit and lasting performance.